Saturday, September 14, 2013

Making a House a Home- c2Design Completed Project

This project has been an absolute joy for me to work on from start to finish.  Ever since they got in touch with me through my facebook page, I knew it was going to be a fun ride with these fantastic homeowners.
Both of these homeowners explained to me that between work, volunteering at school, piano lessons, play dates, and attending to their 2 adorable younger children, their home was not a priority for them. They had reached the point where they just wanted to make their beautiful house their home and feel comfortable and proud of it....I was up for the challenge :)

The house started out with AMAZING bones after they had gorgeous hardwood floors installed throughout the first floor. It was just a matter of taking what they already had, shifting it around, building on it, and pulling each space together. 

After completing the project over a glass of wine, the Mrs. said that she had been entertaining and inviting guests over to enjoy her beautiful HOME! Mission ACCOMPLISHED!

Enjoy the Before and After Pictures:

DINING ROOM
-Reupholstered their existing chair seat cushions
-Added a china cabinet to display wedding china and crystal
- Added area rug
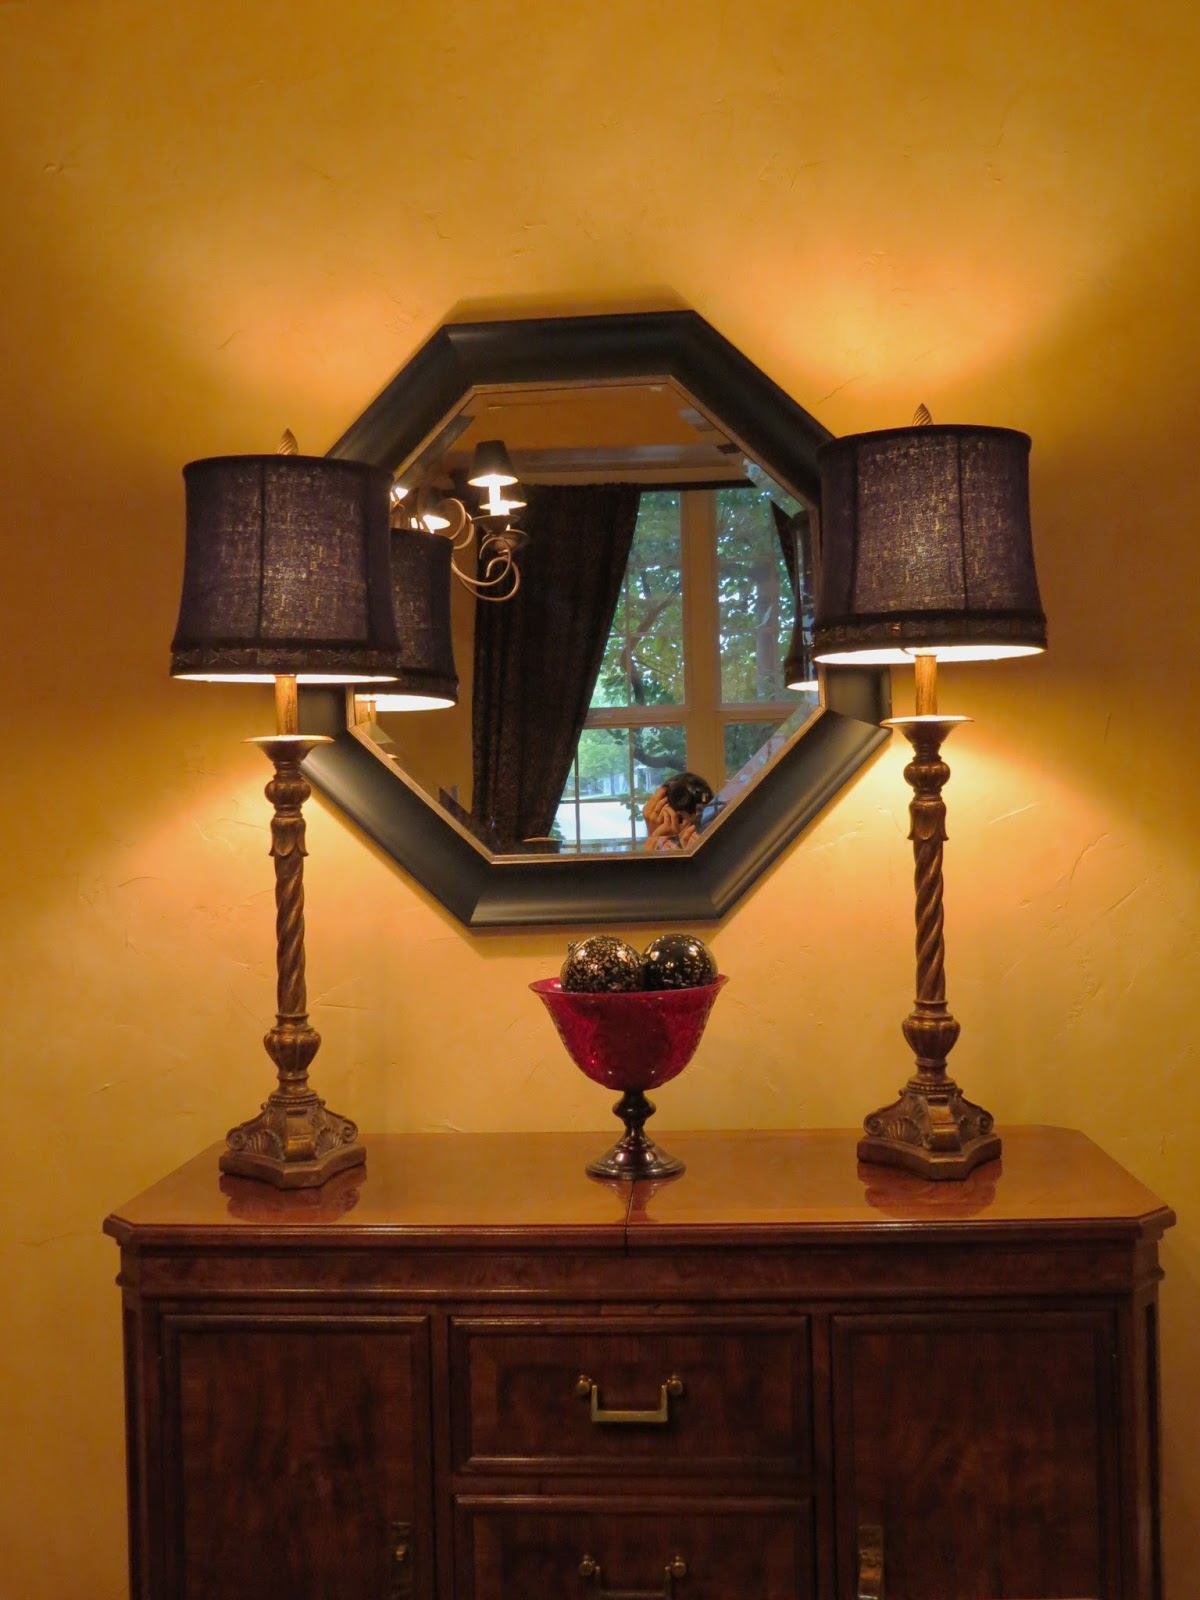
-Added a mirror and lighting
-Replaced the Hunter Douglas Silhouette window coverings
-Added decorative drapery
-Added accessories
Before
After
Before
After

China Cabinet

Vintage Accessories from Homeowner
Buffet
FORMAL FAMILY ROOM/PIANO ROOM
- Added Area Rug
-Added silk floor plant
-Added floor lamp
-Added Candlestick holder
-Added Accessories
-Had 2 pieces of the homeowners grandparent furniture restored and refinished 
(coffee table and side table)
-Added accessories
-Re framed artwork
-Added new drapery swag
Before
After
Before
After
Before
After
 LIVING ROOM
-Painted accent wall and back of bookcases
-Re Accessorized
-Added new leather swivel chair from Crate and Barrel
-Added new leather floor poufs
-Added new throw pillows
-Added new area rug
-Added new silk tree
-Added new entertainment unit
-Re framed children's portraits
-Added accessories
-Re styled decorative shelves
Before
After
Before
After
Before
After
Before
After

 
MASTER BEDROOM
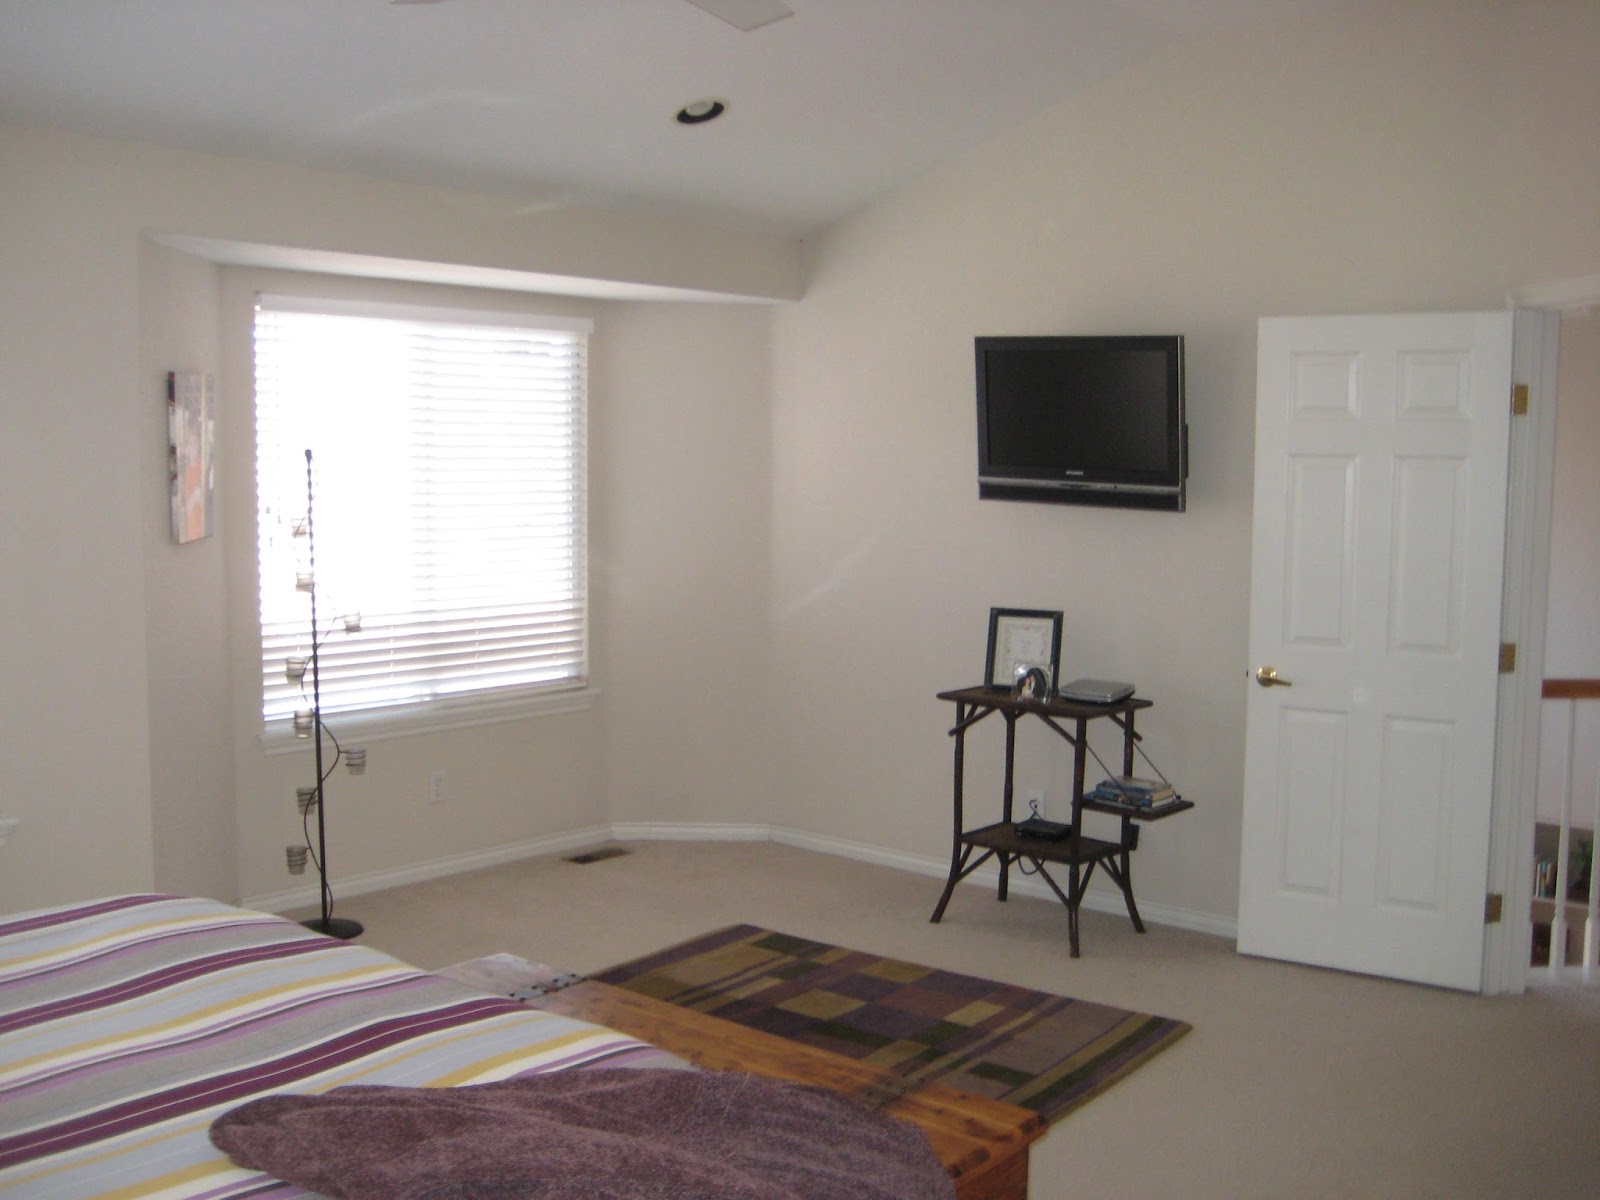
-Painted walls and ceiling
-Added new Bed from Pottery Barn
-Added throw pillows
-Added Nightstand
-Added vanity/writing desk
-Re framed canvases of children
-Added drapery
-Added wall art
-Added bed bench
-Added Bedside Lamps
-Added side table
Before
After
After
Before
After
Before
After
Before
After

Let us SEE TO your design needs next:
c2

BE SOCIAL!!!

Tuesday, July 2, 2013

DIY "Metal" Chair


As we get close to a holiday weekend, besides stars and stripes…all I can think of are all of the AMAZING garage sales that will be going on! Last weekend, I hit some great ones and thought I would share my findings and DIY-ing with you!! At my first stop in the morning, I found this chair looking pretty sad, and decided to take it home for the HUGE price tag of $5!!!! Yes, you heard me right :)

When I saw it, the shape reminded me, in a vintage way, of those industrial looking, metal chairs that seem to popping up in design magazines recently. Like these:

Much to my surprise, this light yellow chair has had many lives before me, and about 5 other AWFUL pastel colors to prove it. With the help of my AWESOME, Black and Decker hand sander, some sand paper, and some metallic spray paint, this junky chair has a new, “industrial” look.


 It only took me about 2 hours from start to finish too.... which may be a record :) Now it sits in our front hall and is a perfect place for my hubby to put on his shoes in the morning!


Don’t forget to seal your work to protect it from all the wear it will be getting:) I use this product which is really easy to spray on.


Happy hunting for your next gem!
c2

BE SOCIAL 


Wednesday, June 26, 2013

DIY Bar Cart

I am back from an AMAZING trip to Dublin, London, Amsterdam and Vienna! I can’t wait to share pictures and my thoughts about each city! I was BLOWN away by the beauty, architecture, design and culture and am feeling VERY inspired.... Stay tuned!

In the mean time, I meant to post this before I left, so here it is.

I have become utterly OBSESSED with "bar carts". I first was inspired by this picture that I found on Pinterest, and later started following this awesome blog of a women who who started manufacturing her own collection of furniture including bamboo, vintage inspired bar carts. Gotta love a little retro!

  
Bar carts can be so versatile and I love the whole concept. Whether you used them as an actual bar cart, an entry piece, a side table with a lamp, a night stand, a kitchen cart, the possibilities are endless…which is so fun!

After looking at TONS of carts online, I went on the hunt to find my very own bar cart. With a DIY mindset I stumbled into Good Will to find this gem, buried under junk, for only $35. WOO HOO! Score! 


After getting it back home, I proceeded to take off the drop down handles and hinges….all 64 TINY screws and all!! Quite the task but I loved the brass hardware so I wanted to make sure to preserve it!
 
Note: My Dog Beasley LOVES to help with all of my projects...especially if they involve painting outside:)
 
Then I used Liquid sandpaper….my saving grace, because NO ONE likes to sand but is a necessary evil if you want the new paint to adhere to the surface. This stuff is the BEST because it removes the shiny finish on pieces and roughs it up a little so your new paint has a good grip and will last much longer.
 
Once stripped and “sanded” I selected “oregano” colored spray paint and gave it 3 light coats.


Once dry, the last step was to seal it, so it will last overtime without chipping!
 
There you have it…my very own bar/kitchen cart. All for around $50

 Here I staged it as an entry table/side table in my home


 Here is it's final home in my house next to my kitchen. Not only do I have the bar part on top, I am using it for cookbook storage on the lower shelf. Again, this is a great opportunity not only for storage, but also is a great place for accessorizing as well. 


Cheers!
c2

BE SOCIAL